Clearing prerequisites by student groups
Business Process: Clearing Prerequisites by Student Groups
Module: Academic Advising
Navigation:
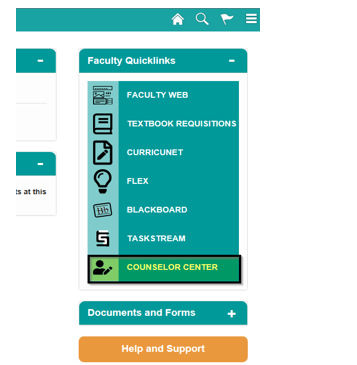
Log-in to the Faculty Portal. From the Faculty Portal click on the Counselor Center tab. This will land you on the Student Success search page.
Instructions:
This Job Aid will outline the process necessary to clear prerequisites using Student Groups.
Step | Action |
|---|---|
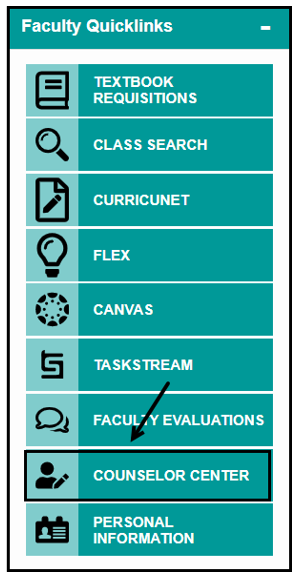
| 1. | From the Faculty Portal, under the Faculty Quicklinks, click on the Counselor Center tab. |
The Student Success search page will appear. |
| Step | Action |
|---|---|
| 2. |
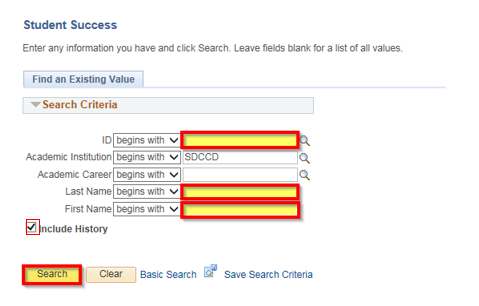
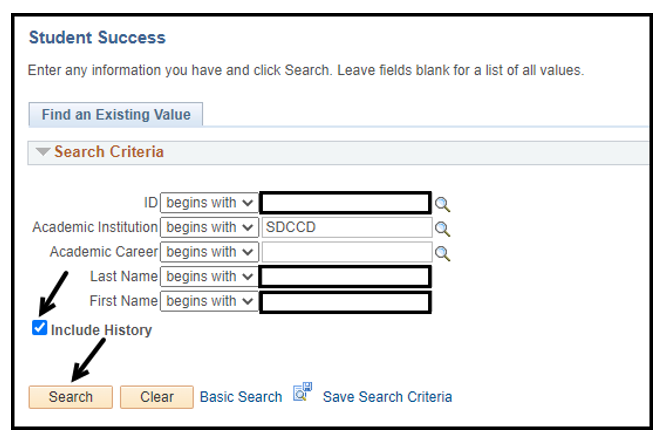
To find the student, use “Find an Existing Value” and use the search criteria provided. Enter the Student’s ID.
NOTES:
On the Student Success search page, enter the Student ID number. Click Search. NOTE: If you do not know the Student’s ID, you can search using the first and last name fields. Include History box should |
default as checked |
. If it is not, make sure to check the box. |
| Step | Action |
|---|
| 3. |
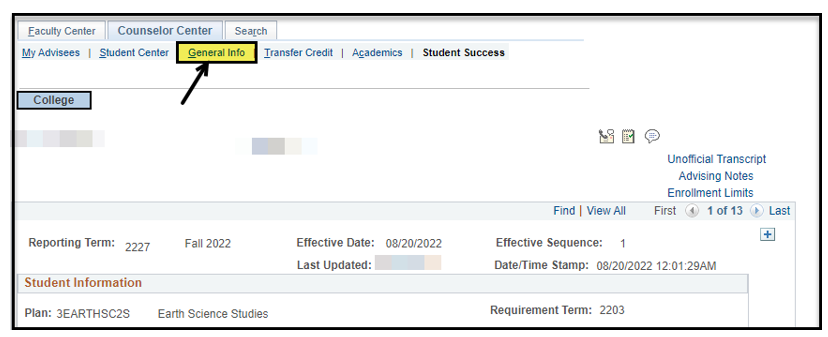
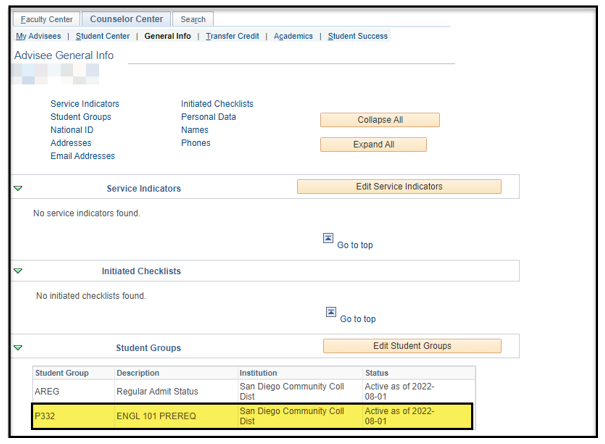
You have landed on the Student Success Page.
Click |
the General Info tab. |

| Step | Action |
|---|
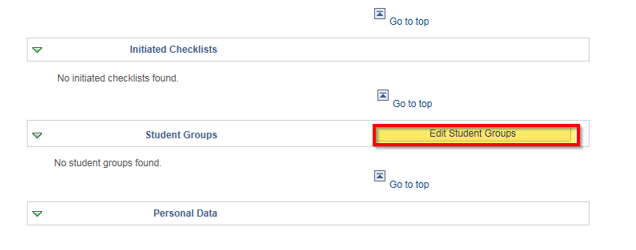
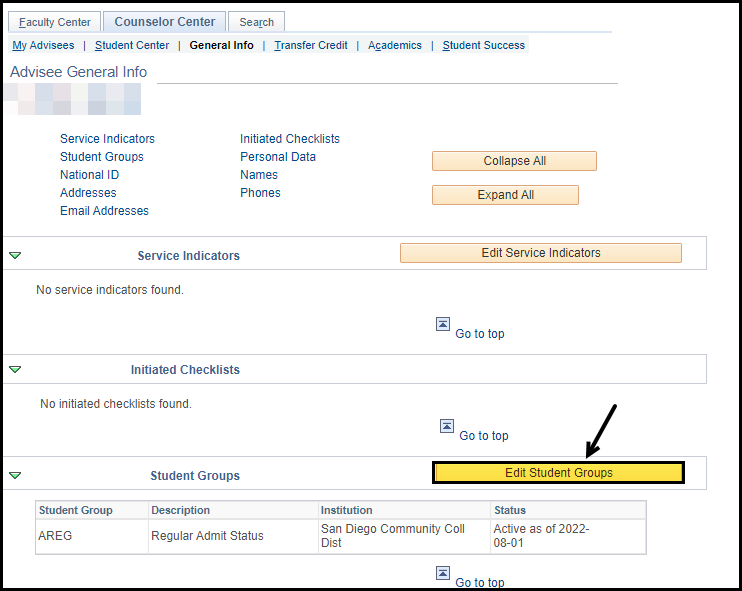
| 4. | Click on the Edit Student Groups button. |
| Step | Action |
|---|
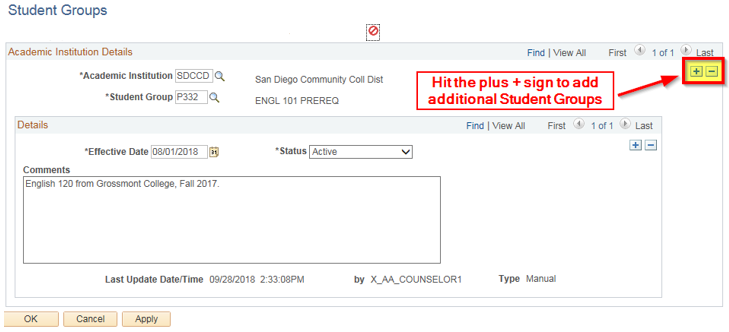
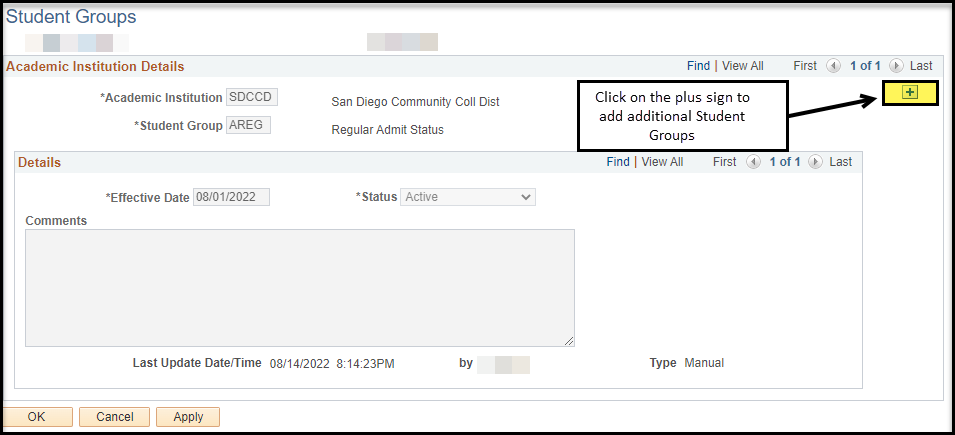
| 5. |
| Since a student group already exists, click on the plus sign to add a new row. |
Step | Action |
|---|
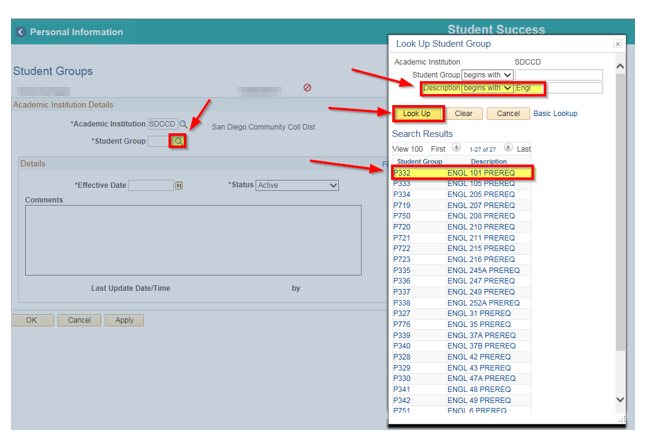
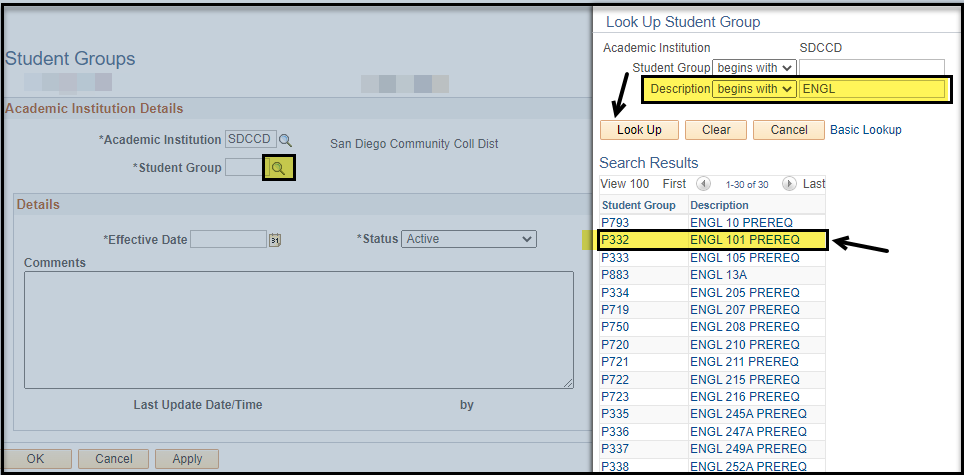
| 6. | Click the magnifying glass to select the new student group. Search for the |
student group by populating the Description field (ex: |
ENGL, |
MATH) and clicking |
Look Up. |
| menu. This will add the student group and |
| populate the description. |
| Step | Action |
|---|---|
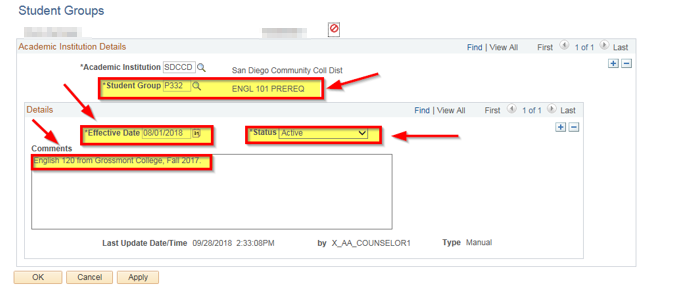
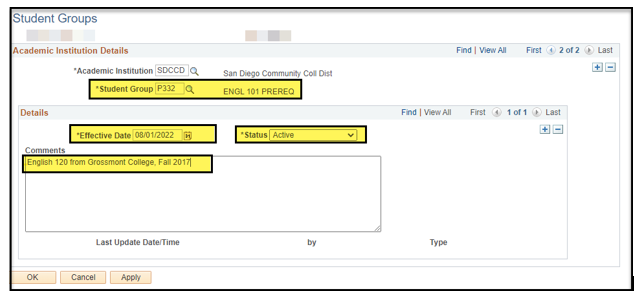
| 7. | The Effective Date will populate as the current date |
. The status is defaulted as Active. Use the following Best Practice date to populate the |
Effective Date |
Fall = August 1st, Spring = January 1st, Summer = June 1st.
: Fall = August 1st Spring = January 1st Summer = June 1st Example: 08/01/ |
2022 01/01/ |
2022 06/01/ |
2022 NOTE: For a student group to active for a term, the effective date MUST be dated on or before the first day of that term. Add a Comment describing the reason |
the student group was added. |
| Step | Action |
|---|
| 8. |
Click OK: this will add the student group and the page will return |
to the General Info page. |
Click Apply: this will |
save the current student group, but |
the |
Student Group page will remain so additional student groups |
If you click OK and need to add additional Student Groups, you must now click the plus + sign in order to add additional Student Groups.
You can also delete a student group by clicking the minus - sign.
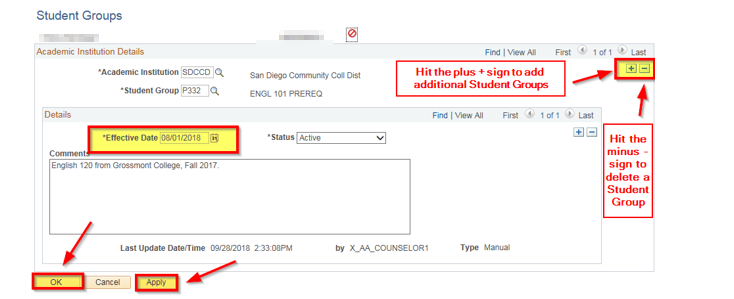
can be added in one session.
To delete an incorrect student group, click the minus sign. |

| Step | Action |
|---|
| 9. |
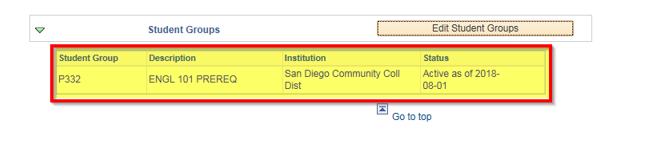
| When OK |
| is clicked, the page will return to the General Info page and the Student Group will |
| be saved on the |
| student’s record. |
| Step | Action |
|---|---|
| 1110. | End of job aid. |