This job aid will walk you through the process to review EOPS applications. This includes accepting and rejecting them.
...
Step | Action |
|---|---|
| 4. | Click on the |

Step | Action |
|---|---|
| 5. | Next Steps: |
How to Accept an EOPS Application
Step | Instructions |
|---|---|
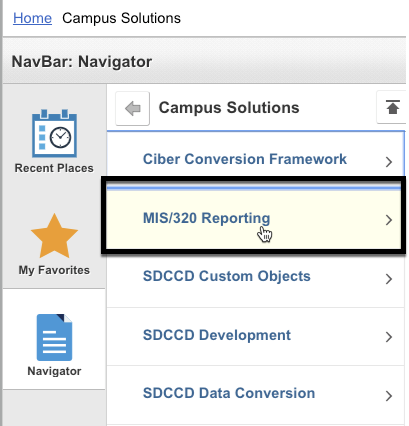
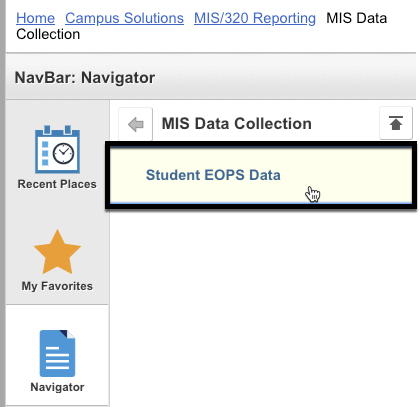
| 1 | When you are ready to take action on an application: Navigate to: MIS/320 Reporting → MIS Data Collection → Student EOPS Data
|
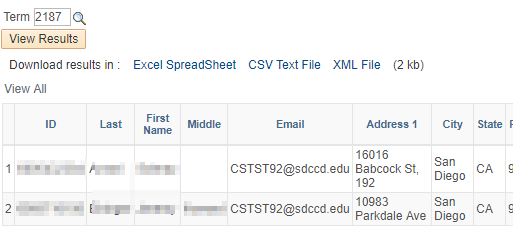
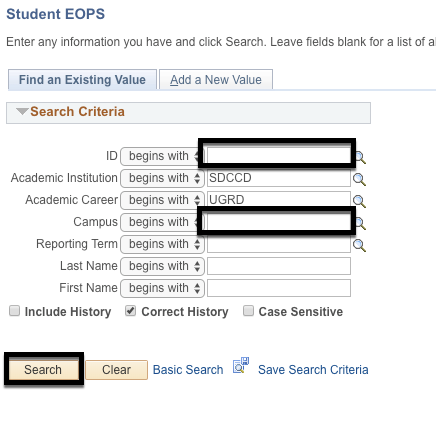
| 2 | You will be prompted to search for a person. Type in the student's ID number, the campus, and the reporting term the student applied for then click on "search"
|
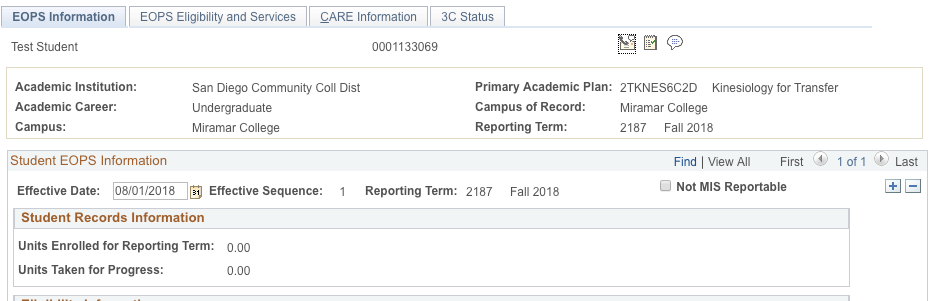
| 3 | You should see the EOPS page for the semester appear.
|
| 4 | If you are accepting the student go to the next step - step 5 If you are marking the EOPS application as ineligible go to step 9 If you require more documentation, click on "/wiki/spaces/MYS/pages/257622024" job aid. |
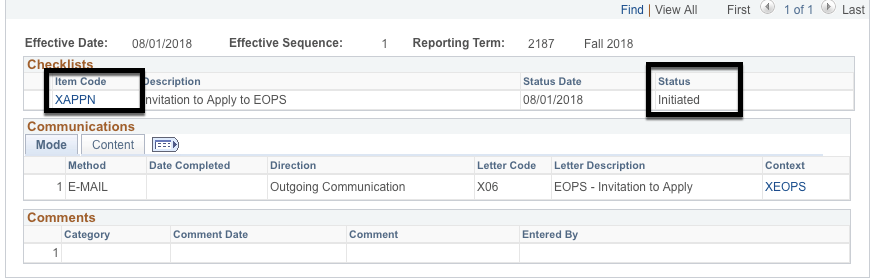
| 5 | To process the application, click on the 3C Status tab and look for the XAPPN checklist item. The status should be "Received" which indicates the application has been received.
Click on the XAPPN checklist item code. |
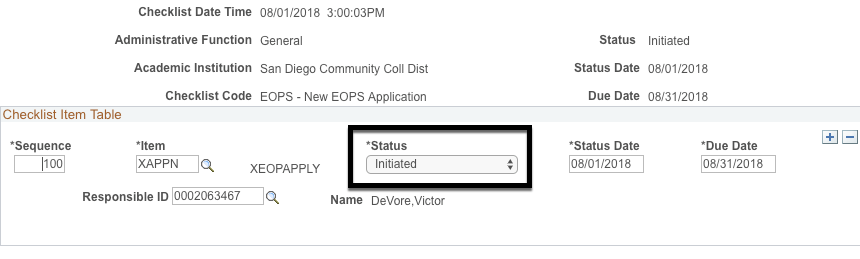
| 6 | You will be brought to the checklist item in Campus Solutions. In the Status box, change the status to "Completed" to indicate the student is provisionally accepted and should be invited to orientation.
|
| 7 | Click on "Save" |
| 8 | To verify, click on "Return to Search" and bring up the student record again to see the updated information.
click on the EOPS Information tab to enter in appropriate comments if needed. |
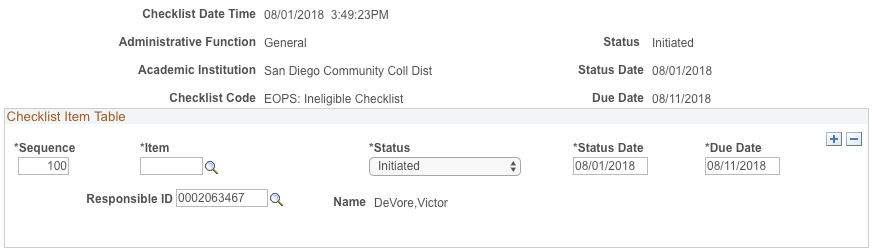
| 9 | Processing EOPS Ineligible Applications If the student is ineligible, follow these steps: In the XAPPN checklist, click on the XAPPN link
|
| 10 | Mark the application from "Received" to "Cancelled" |
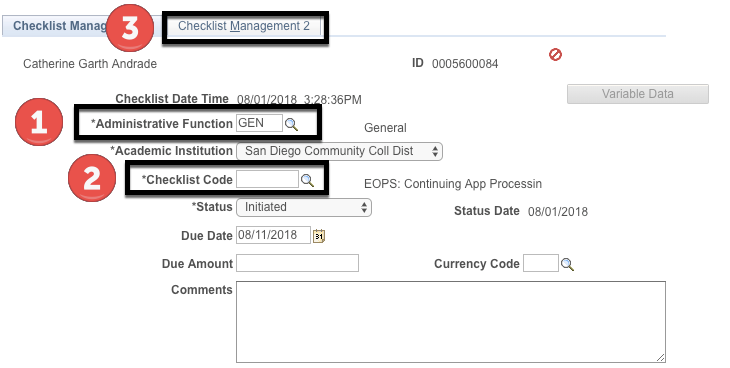
| 11 | In the EOPS page, click on the checklist icon You will be prompted to enter in your checklist in a new window.
|
| 12 | Next to checklist item, click on
Reasons are listed below:
|
| 13 | When you save, this will flag the student to be sent the ineligible email. |


...