Starting the week Summer of March 27th, 2023, all communications from San Diego Community College District (including messages from instructors) will be sent to your @student.sdccd.edu email address. Besides Microsoft Outlook (for student email), we will also be using Microsoft Office 365 to provide students access to cloud storage, and access to the Microsoft Office Suite of apps (Word, Excel, PowerPoint, etc.).
...
On your Android device, find and tap on the “Apps” icon.

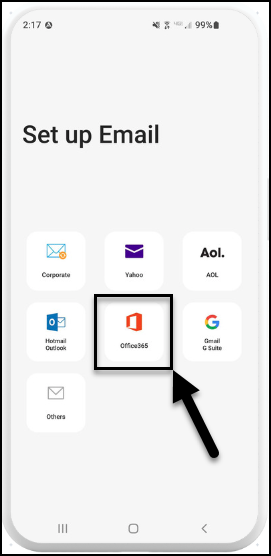
Tap on the “Email” app.


When prompted, select the “Office365”icon.

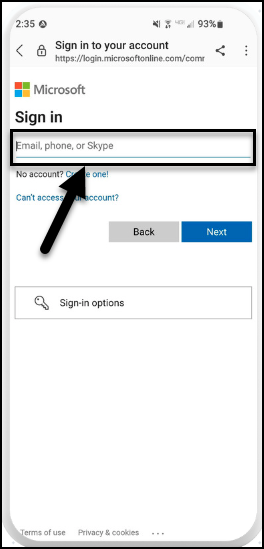
Type in your full @student.sdccd.edu email address in the “Email, phone, or Skype” field (example: test@student.sdccd.edu), and tap on “Next”.

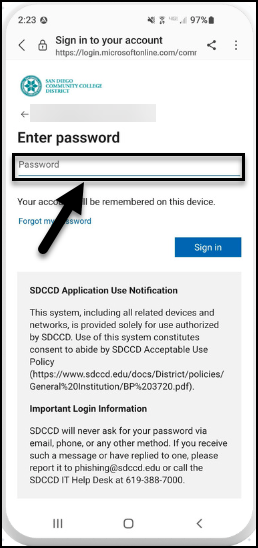
Type in your password in the “Password” field, and tap on “Sign in”.
Note: Your SDCCD student email password is the same password as your mySDCCD student portal.

The app will indicate that multi-factor authentication is required. Tap on Next.

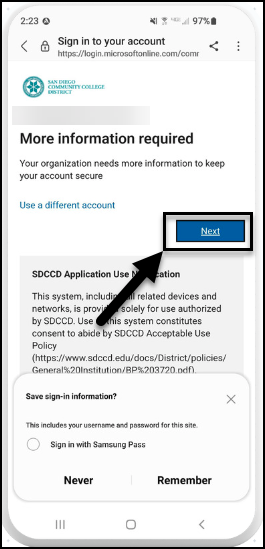
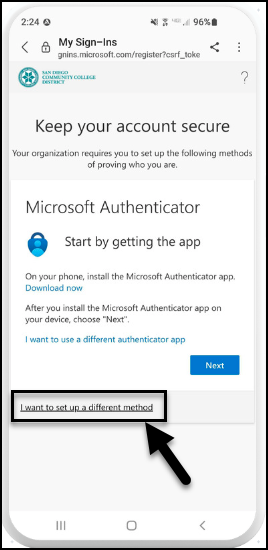
You may either download the Microsoft Authenticator app or use a different method.
To use a different method, tap on the hyperlink “I want to set up a different method” at the bottom.
The sidebar will ask if you wish to use your phone or an Authenticator app.
Tap on “Phone”.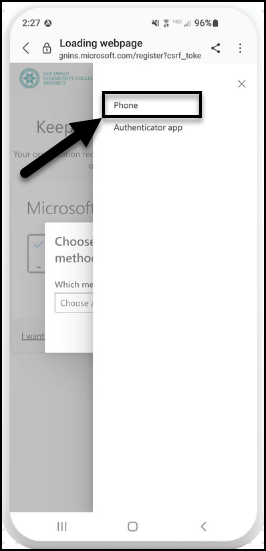

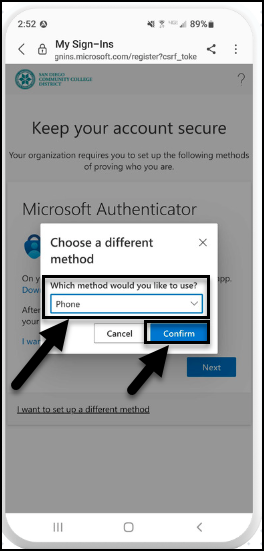
Select your method for Authentication from the dropdown and tap on “Confirm.”

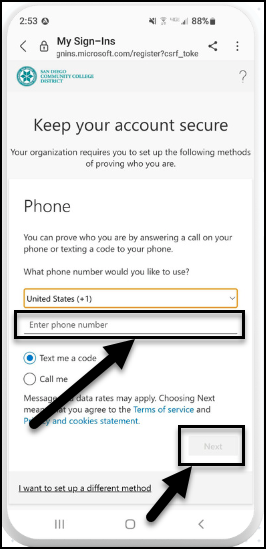
Enter your phone number in the field, and select “Text me a code” or “Call me”, and tap on “Next.”

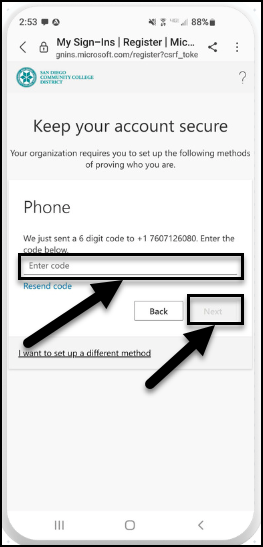
Enter the code you received and tap on “Next.”

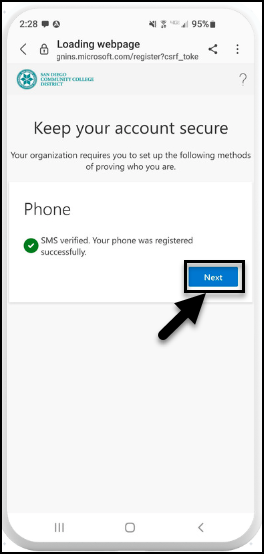
At the success screen, tap on “Next.”

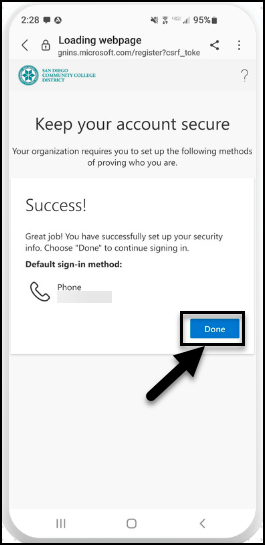
Your phone number will be displayed indicating it is tied to your account. Tap on “Done.”

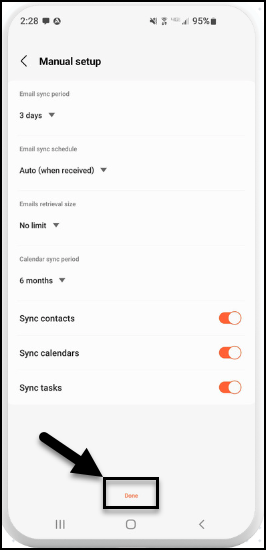
You will be prompted to sync your contacts and calendars. Select “Done” when complete.

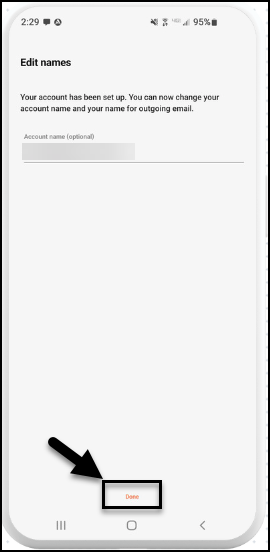
Choose the name you wish to call the account, or just select “Done.”

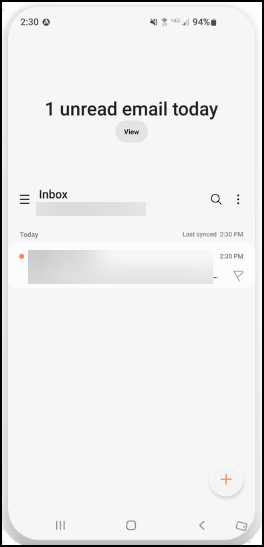
You will be taken to your Inbox to view your emails.

...