Changing Student Program Plan Stack
Business Process: Changing student program plan stack
...
- Changing a Student’s Major: https://cccconfer.zoom.us/recording/share/-z89BIXR_BfwtogNwGfyVAhINfNYS3SC7b04sRPYOiKwIumekTziMw
Navigation:
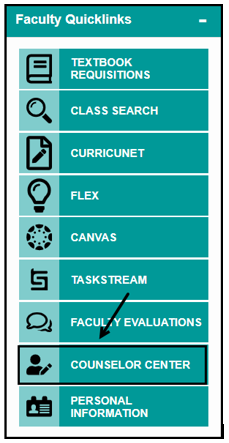
Log-in to the Faculty Portal. From the Faculty Portal click on the Counselor Center tab. This will land you on the Student Success search page.
Instructions:
This Job Aid will outline the process necessary to update a student’s Career Program Plan (CPP) stack.
Step | Action |
|---|---|
| 1. | From the Faculty Portal, under the Faculty Quicklinks, click on the Counselor Center tab. This will land you on the The Student Success search page will appear. |

| Step | Action |
|---|---|
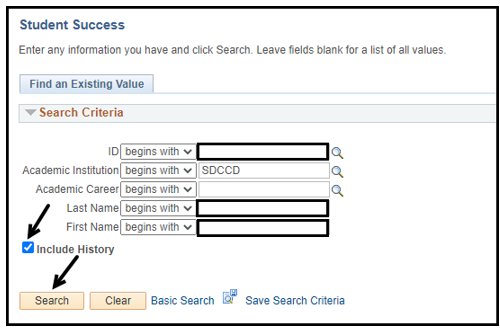
| 2. | To find the student, use “Find an Existing Value” and use the search criteria provided. Enter the Student’s ID. NOTES: On the Student Success search page, enter the Student ID number. Click Search. NOTE: If you do not know the Student’s ID, you can search using the first and last name fields. Include History box should be default as checked on default. If it is not, make sure to check the box. |
| 3. | Click on Search. |

| Step | Action |
|---|
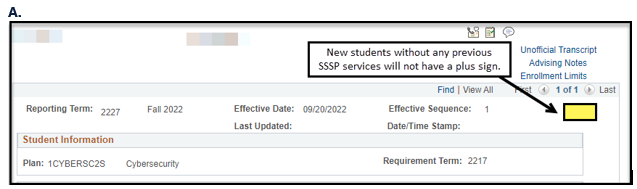
| 3. | A. |
If |
the student is |
new |
and without |
SSSP |
services |
, there will be no |
plus sign |
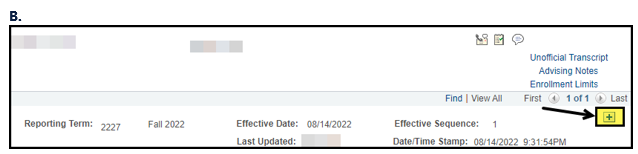
If this is a returning student Click on the plus  sign to ADD A NEW ROW.
to add a new row. Review student’s information and update as appropriate. B. If the student is returning, click the plus sign to add a new row. Review student’s information and update as appropriate. NOTE: Be sure to click Save at the bottom of the page to update the SSSP page before navigating to another tab. Failure to do so will result in changes not being saved. |
| Step | Action |
|---|---|
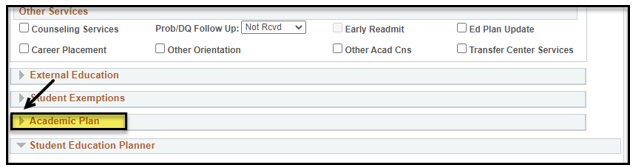
| 4. | Click on the Academic Plan arrow to open the section.C. |
| Step | Action |
|---|---|
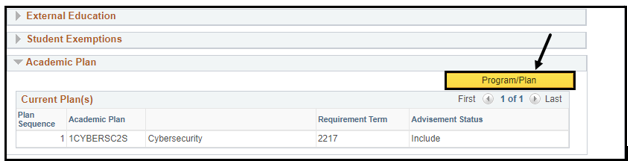
| 5. | Click on the Program/Plan button to go to the Program/Plan stack which will lead to a new page in view, starting with the Student Program tab. |
...
. The page will open onto the Student Program tab. |
| Step | Action |
|---|---|
| 6. | On the Student Program tab, check to be sure the student is in Active status. If the status is Discontinued, STOP. Do not add a PLNC row to their record. This will cause the student’s admission application to fail. |

| Step | Action |
|---|---|
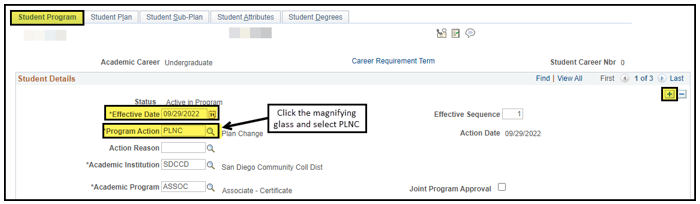
| 57. | A.On If the student is in Active in Program status on the Student Program tab, click on the plus  sign to ADD A NEW ROW.B.Evaluate the *Effective Date (The effective date must be on or before the start of the semester. If the plan is being changed the following effective dates must be used). Fall = August 1st , Spring = January 1st, Summer = June 1st. Example: 08/01/2018, 01/01/2018 06/01/2018 C. Select your *Program Actionadd a new row. Complete the following steps:
|
| Step | Action |
|---|---|
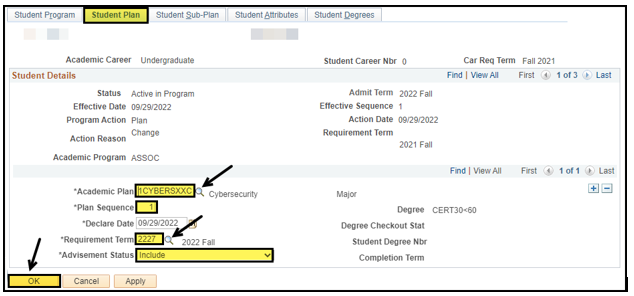
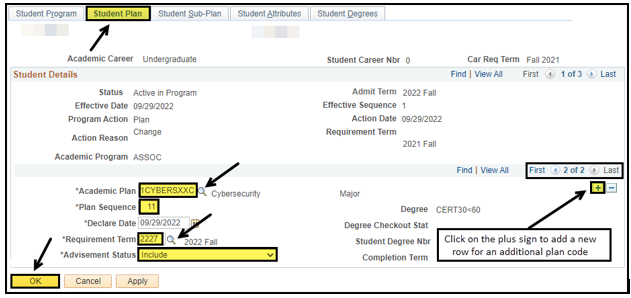
| 8. | Click on the Student Plan tab. The existing plan can be changed, or additional plans can be added. To Change a Plan:
|
|
E. Do not click OK at this time.
NOTE: Leave the campus alone. The Action Date will always be today’s date on the new row.
Caution: Do not change admit term....
|
| Step | Action |
|---|
| 9. |
To Add an Additional Plan:
|
|
|
|
|
|
|
|
|
D. Evaluate requirement term (catalog year) by clicking on the magnifying glass and selecting the appropriate catalog year.
E. Advisement Status should be updated to “Include” for lowest sequenced plan, any additional plans should be marked “Do Not Include”.
NOTE: You can come into this page and change the Academic Plan, Plan Sequence, Requirement Term and/or Advisement Status without adding or deleting a row.
|
...
| Step |
|---|
| Action |
|---|
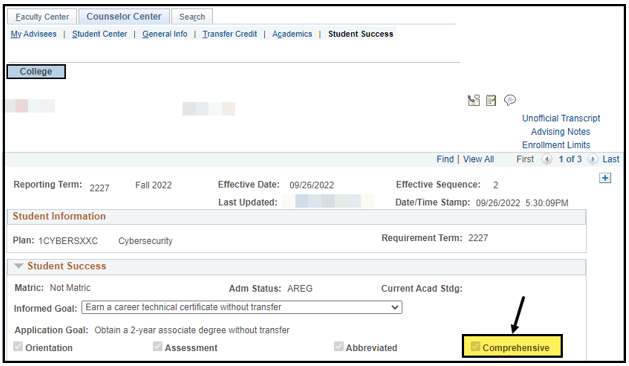
| 10. | On the Student Success |
| page, |
| the Comprehensive check box has been populated now that the student has a formal Ed Plan. |
| Step | Action |
|---|---|
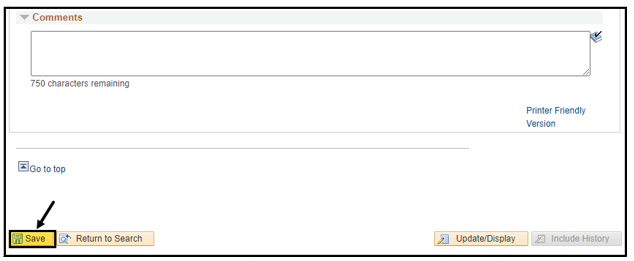
| 11 | Click Save on the Student Success page |
| to complete the transaction. |

| Step | Action |
|---|
| 12 | End of |
| Procedure |