Term Setup 1 - Add Term to SF Term Default
Add Term to SF Term Default
Label | Description |
|---|---|
| Business Process | Cashiering |
| Module | Student Financials |
| Prerequisites | Term must exist in term table |
| Description | This Job Aid illustrates how to add the Term to SF Term Default. |
Instructions:
Step | Action |
|---|---|
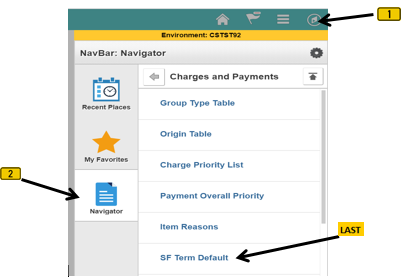
| 1. | Click on [ |


| Step | Action |
|---|---|
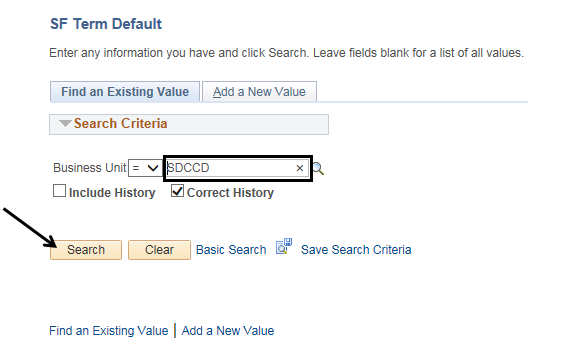
| 2. | Verify that the “Business Unit” field is defaulted to ‘SDCCD’. Click the “Search” button. |
| Step | Action |
|---|---|
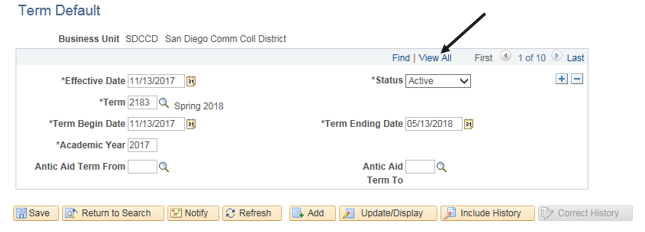
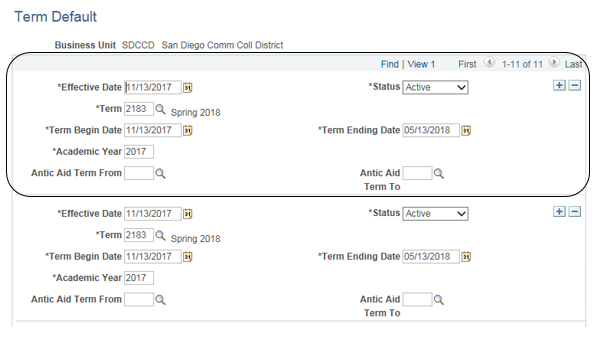
| 3. | Click the ‘View All’ link. This will display all previous Terms at once, with the most recent term being at the top. |
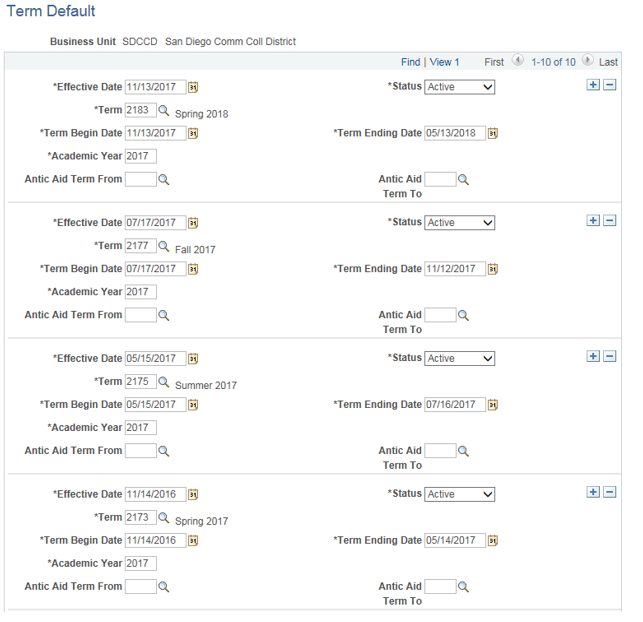
| Result of Step 3 |
|---|
| Terms displayed all at once |
| Step | Action |
|---|---|
| 4. | Click the “plus” sign [ |

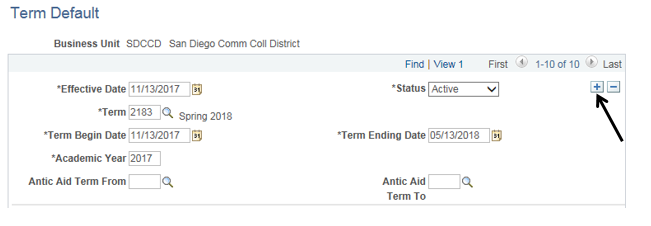
| Result of Step 4 |
|---|
| New section added to the top and populated with information from the prior term. |
| Step | Action |
|---|---|
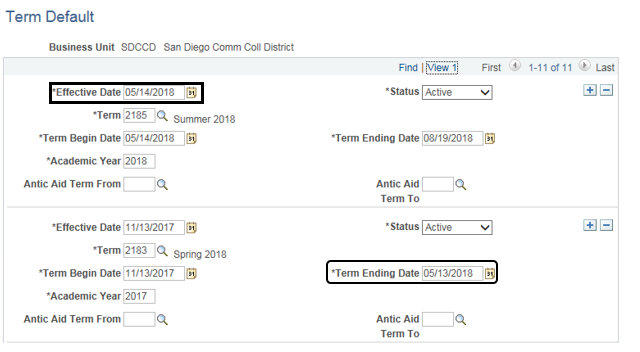
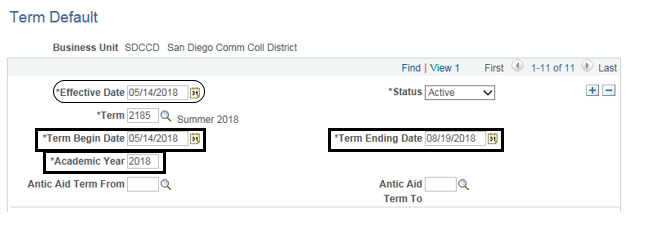
| 5. | Change the “Effective Date” field to the next day after the “Term Ending Date” of the previous term. |
| Step | Action |
|---|---|
| 6. | Click the magnifying glass [ |

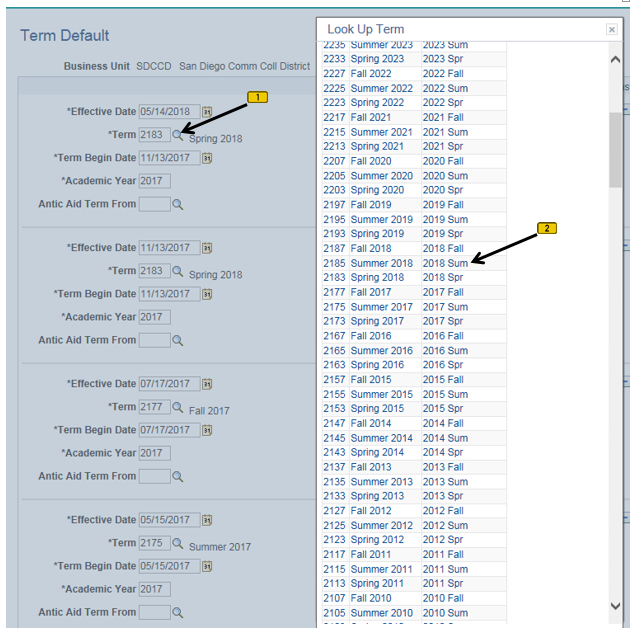
| Step | Action |
|---|---|
| 7. | Enter the same date from the “Effective Date” field into the “Term Begin Date” field. Enter the date of the last day of the term into the “Term Ending Date” field. |
| Step | Action |
|---|---|
| 8. | Click the “Save” button at bottom left of the page. If you are in “View All” mode, you may have to scroll down to the “Save” button. |

| Step | Action |
|---|---|
| 9. | End of job aid. |
| 10. | Proceed to Term Set Up 2 |