Summary
Label | Description |
|---|---|
| Business Process | Waitlisting for classes |
| Prerequisites | Students must have an active college application on file, and must be eligible for enrollment. |
| Description | This tutorial will walk students through the steps necessary to waitlist for classes. |
Instructions:
| Step | Instructions |
|---|---|
| 1 | Login to http://my.sdccd.edu and click on the "College Student Dashboard"
|
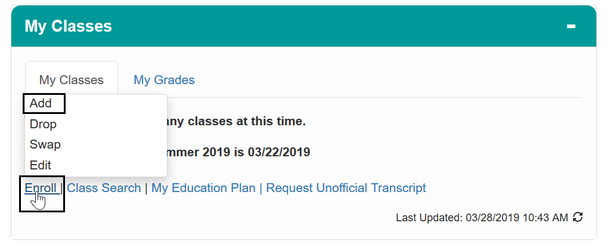
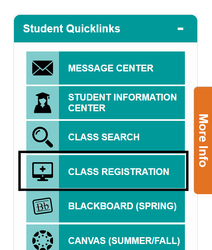
| 2 | You can either click on the "Enroll" link in the "My Classes" pagelet, or you can click on "Class Registration" in the Student Quicklinks:
|
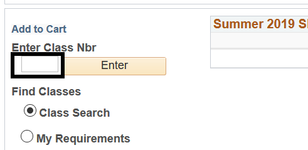
| 3 | First step would be select classes to add, students have three options to search for classes:
If you already know the Class Nbr (CRN) you can enter it here and click on "enter"
|
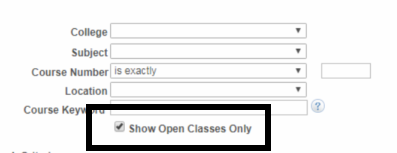
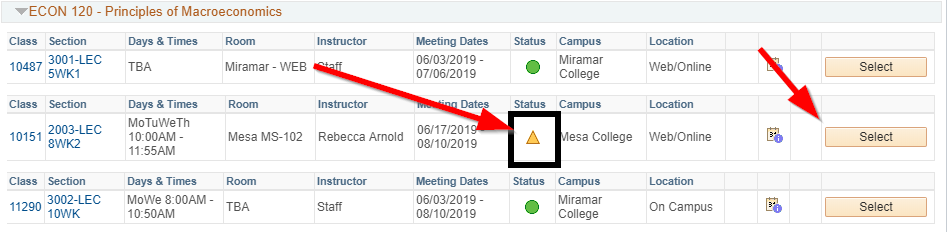
| 4 | If you want to search for all classes, be sure you uncheck the "Show Open Classes Only" option:
This will show you classes that have a waitlist as well. Classes that are full will show a yellow triangle in the "Status" column. If you find the class you want to register for is full, click on the select button and add yourself to the waitlist.
|
| 5 | On this page you will be able to enter your Permission Nbr (Add Code), select the grading option: Graded = (A-F) or Pass/No-Pass (P/NP) Classes that are full will have a Yellow Warning sign status. To add yourself to the waitlist, check the "Wait list if class is full" checkbox
Once you checked the box, click on "Next" |
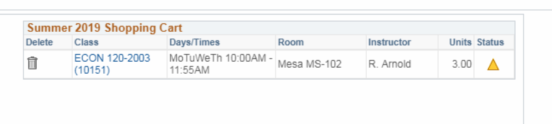
| 6 | You should see a message indicating it was added to your shopping cart towards the top: and you should see it in your semester shopping cart:
Once you are satisfied with your choices, click on "Proceed to Step 2 of 3" |
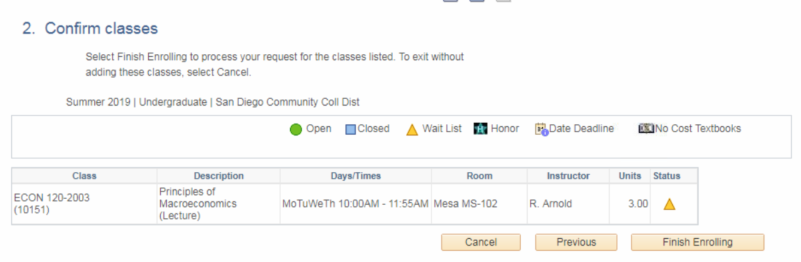
| 7 | You'll be taken to the confirmation page, this is where you will verify these are the correct classes you wish to waitlist for. If you are satisfied, click on "Finish Enrolling"
|
| 8 | The system will now determine if you're eligible to waitlist for the class. You should see a success or error message next to each class. |